
When you are creating free email campaigns, it is necessary to work with images, but sometimes this process can be complex, if you usually don’t work with image edition. In this article we will try to explain the main aspects of editing images, as well as some interesting tools.
The goal is not to create an advanced article, but to provide information to help you with the most important aspects so that you can add images correctly when creating free email campaigns.
1) Changing the image dimensions
One of the first things you need to know is the dimensions of the image that will be used in the newsletter, to make sure it fits correctly with the message design.
For example, let’s use this header:
This design has a main image. How can we know its size?
One of the tools that can be used to obtain this information is a Firefox extension, called MeasureIt.
If you access this page you will see a screen similar to this:
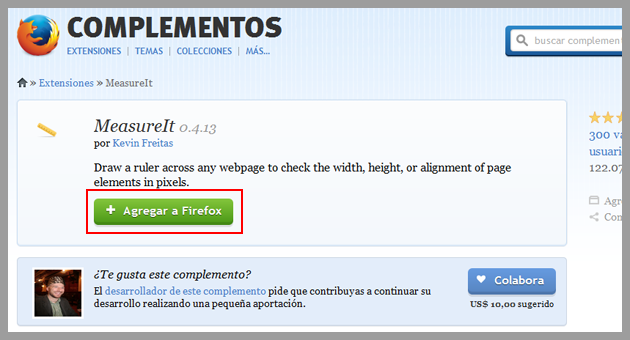
Simply click the add to Firefox, probably the system will ask you to restart the browser.
Once that is done, when you open the browser again, you’ll see an icon with a ruler:

Click on this icon, and on the image, now drag it to select it:
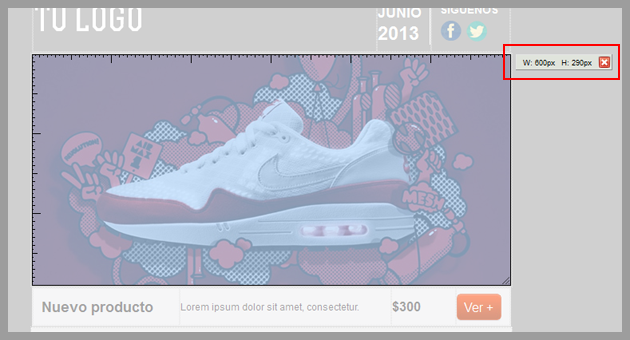
Note that by selecting the image, it will be highlighted, on the top right you can see the width and height of the image. With the dimensions of the image, you can add it to the newsletter design.
2) Another way to discover the image dimensions
You can also find the dimensions of tan image on Photoshop, by following a few simple steps. Let’s test this option with another image. To know its dimensions, you will have to take a screenshot with the printscreen key on your keyboard.
On Photoshop, click on File and on New:
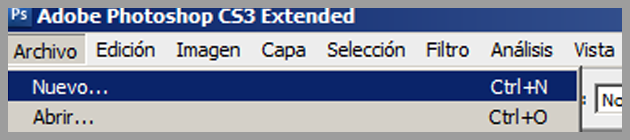
On the next screen click “Ok”.
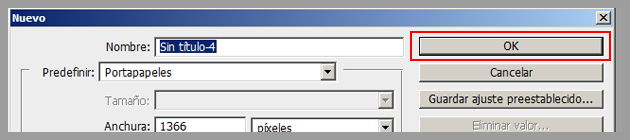
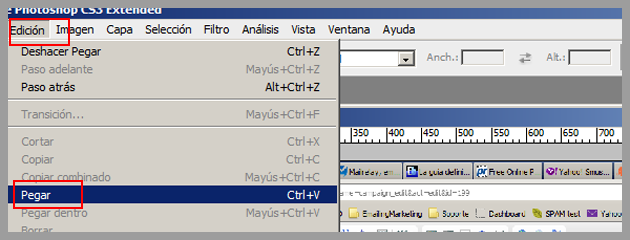
This way you will see a blank screen on which you can paste your screenshot, clicking the Edit menu -> Paste:
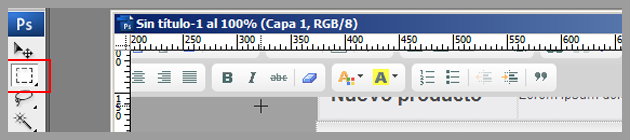
Now the image will be in Photoshop, therefore you can use, for example, the rectangular marking tool to mark the dimensions that you want to measure:
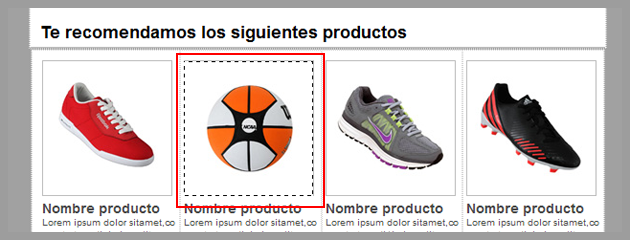
You will see that the image is marked by a dotted line, which indicates that it was selected:
Now just press F8 and you will see the dimensions of the image you selected:

You can view this information in pixels if you have this configuration, otherwise you can click on Edit, Preferences, Units and Rules. You can configure the units you want to use.
3) Modify the image dimensions
When you know the dimensions of the image, you can change them without any problem, you can find many free online tools, such as:
This tool will allow you to modify the image, you also can crop it according to your needs, for free. When you open the website, you will see a screen similar to this:
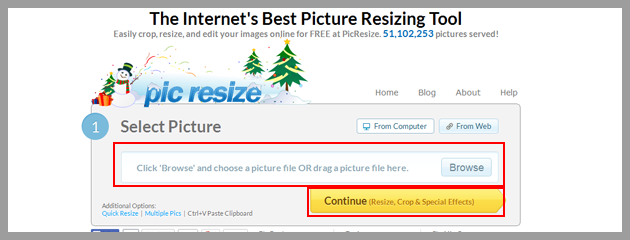
The first step is to select the image on the computer you want to edit, and click on Continue.
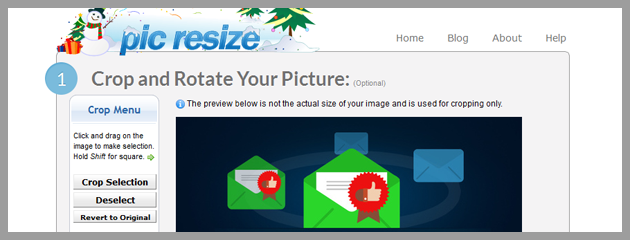
Once the image has finished loading, you will access a screen where you will be able to edit it. The Crop Selection option allows you to select only a part of the image.
If you press the Shift key, you can select a square.
After selecting the part of the image you want to use, the next step will be to resize it.
In the previous steps in this article you learned how to discover the dimensions of the image you want to use, now you must use this information.
Select the option Make My Picture and select Custom Size &, and enter the Width and Height of the image:

We will not talk about effects in this article, therefore will get directly to the fourth step:
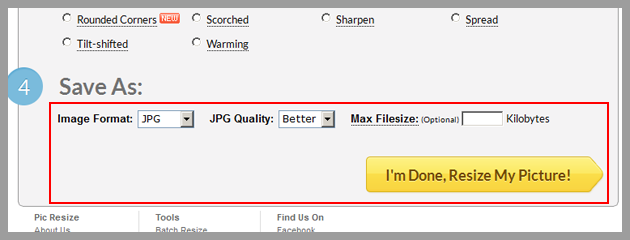
Select the format from the Format Image menu, the most common formats are:
– JPG -> For images with many colors.
– PNG -> For images that include text, diagrams and don’t include many colors.
You can also use the PNG format for photographs, but usually the file won’t be as small as a JPG file.
If you choose JPG, you can also select the quality of the image, and click on I’m Done, Resize My picture!
Now, you can preview the resulting image, on View image or save it on your computer by clicking on Save to Disk:
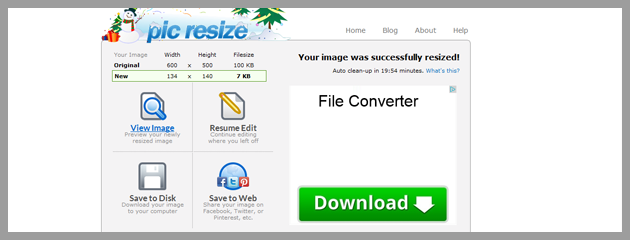
After following these simple steps, the image is ready and may be added to your newsletter:
4) Modify the size of the image with Photoshop
Another option available to resize images is to use Photoshop, in this case, once you know the dimensions, the process is extremely simple and fast.
To do this you will use the crop tool:
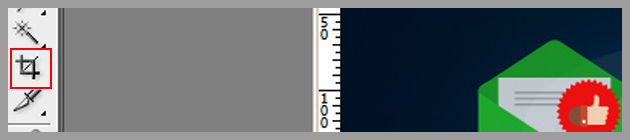
When you select this tool, you will see that in the upper left you can enter values for the size of the image:
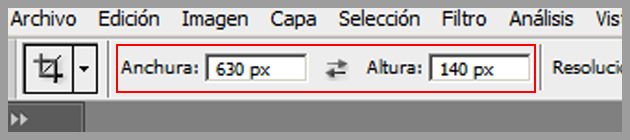
Check the parts you want to crop and press enter. Now you will have an image with the correct size.
To save the resulting image, to use it in your newsletter, click the File menu and then Save for web and devices:

Here you can select the image format in addition to its quality in some cases:
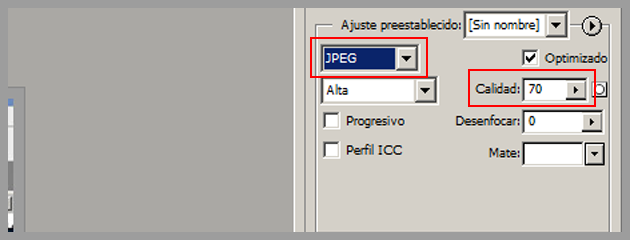
It is important to have a good quality image, but remember that at the end of the day, size is more important here. Now just save it.
5) Bonus: Cropp.me
If you got this far, let’s explain a third method for this, free and fast.
Therefore, you will have another tool for editing images, so you have several alternatives and can choose the most suitable for your needs.
Simply visit this website:
On this website you will see a screen similar to this:
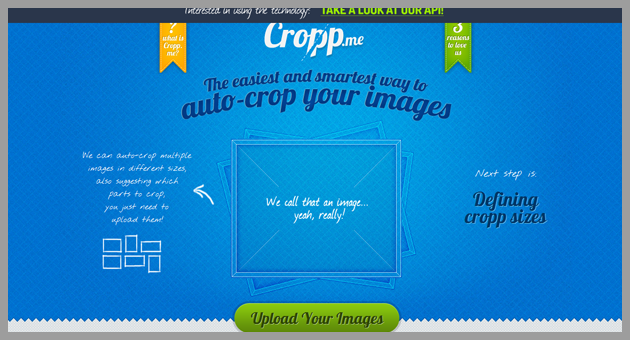
The process is very simple, click the Upload button and select the image you want to edit.
You can upload more than one image, if necessary.
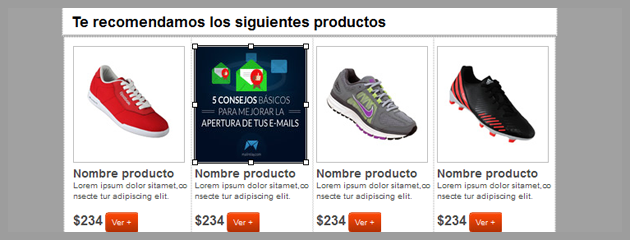
On the next screen you can select the image size, or manually enter the dimensions:
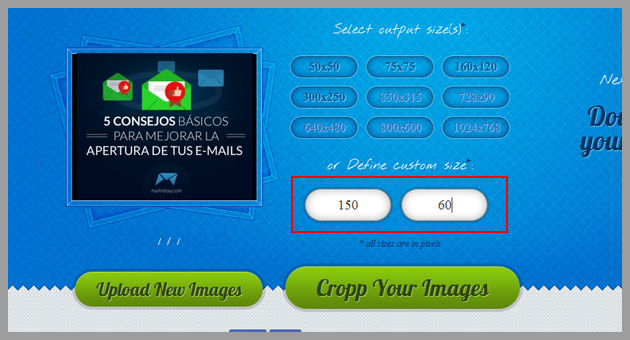
After entering the size, or selecting a default size, click Cropp Your images, you will see that the images will be displayed on the right side:
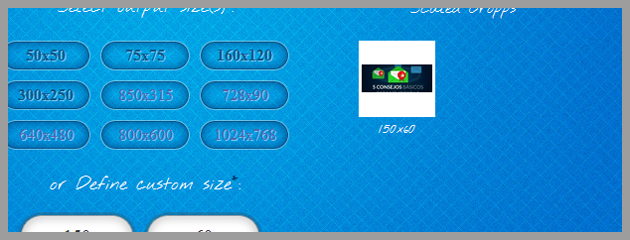
Depending on the size you selected, some parts could be deleted, although the software will try to do its best.
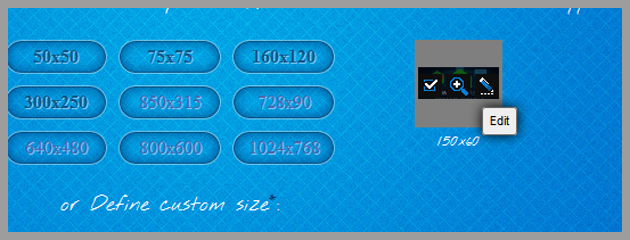
If you don’t like the result, just modify it again, by clicking the image edit icon:
You will see a screen in which you can move the selection to where you want, and save the changes:
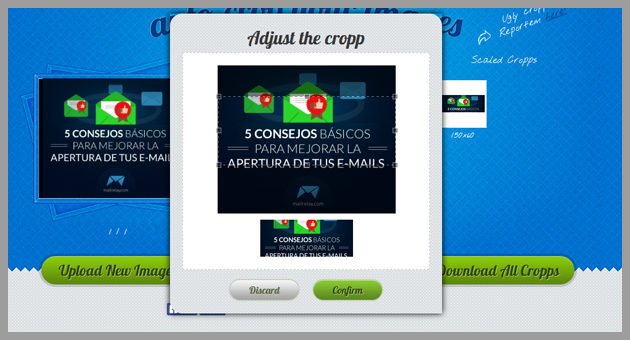
Finally, save on your computer all the resulting images.
This is a very simple process, another tool for editing images fastly.
In short
In this tutorial, we explained some ways to know the dimensions of the images of your newsletter, as well as several alternatives to resize them so they can be properly used in your email marketing campaigns.