The subscription form is an indispensable part of any email marketing strategy, but it is not always easy to insert it properly on the website or blog, right? Today we will see how to add a form with the Contact Form 7 plugin.
The Contact Form 7 plugin can also be used for a subscription form?
Well, it's true, it is usually used for creating contact forms
But what if there was some way to use it for this purpose?
Yes, using a tool called Forms 3rd party integration
This plugin adds the option to integrate with external services such as Mailrelay, to create forms in WordPress plugins, specifically:
Contact Form 7 : https://wordpress.org/plugins/contact-form-7/
Ninja Forms : https://ninjaforms.com/
Gravity Forms : http://www.gravityforms.com/
Specifically for this example we'll use the Contact Form 7 plugin, because that's the one I already installed on my demo WordPress [:)]
Step 1. Integrating Contact Form 7 + Forms 3rd party + Mailrelay
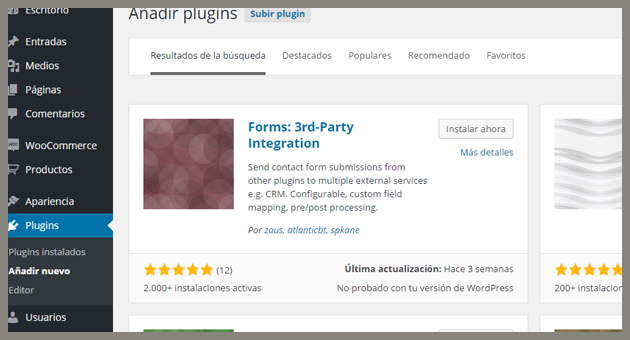
Assuming you have already installed the plugin Contact Form 7, you will have to install the plugin Forms: 3rd-Party integration, to do that, just click the plugins menu on your wordpress and install it:
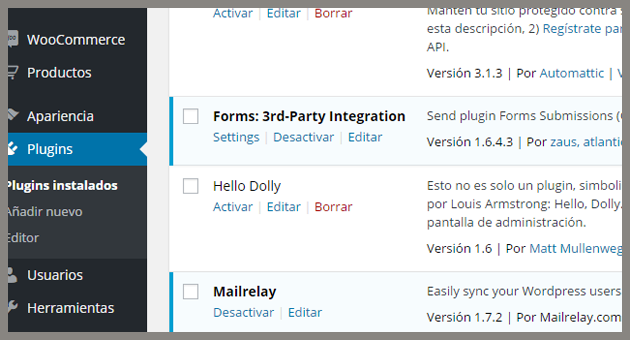
Once installed, it will appear in your plugin list:
It is very important that you have installed Contact Form 7, Ninja Forms or Gravity Forms because otherwise, this plugin will not be useful for anything.
Step 2. Creating or editing a form
You will have to create or modify a form that has already been created.
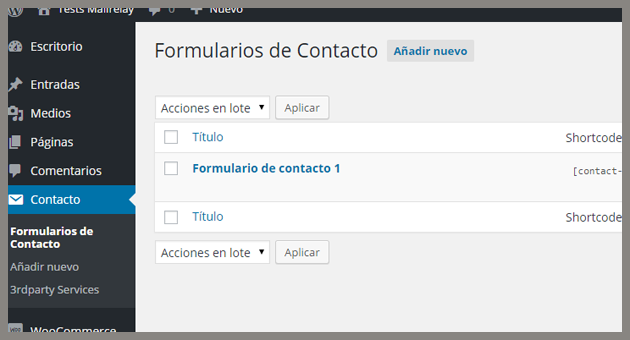
You can do this from the Contact menu if you use Contact Form 7:
Creating or editing a form is very simple, as it is a completely visual process, you just have to click on the item you want to add:
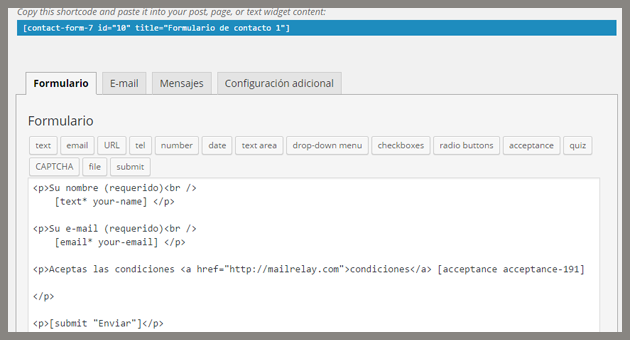
We created three fields:
A text field for the name (your-name)
E-mail field for the email (your-email) a checkbox, which is a field that the user will have to mark to send the form (ideal when it is necessary that the user accepts the terms of use)
In the image, you will see a shortcode, it is important to copy it because we will need it to complete the process.
And that is it, just save the form.
Step 3. Adding the form on the website
To add the form to the website, we will use the shortcode we copied in the previous step.
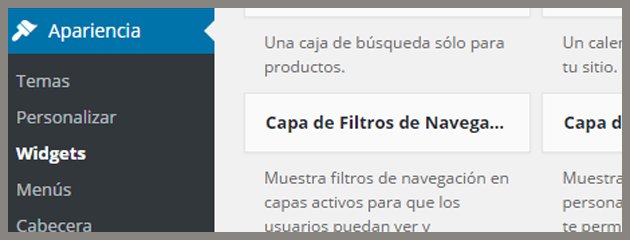
And to add it, we will use a widget, so click the Appearance menu and on Widgets:
You can use any widget you want:
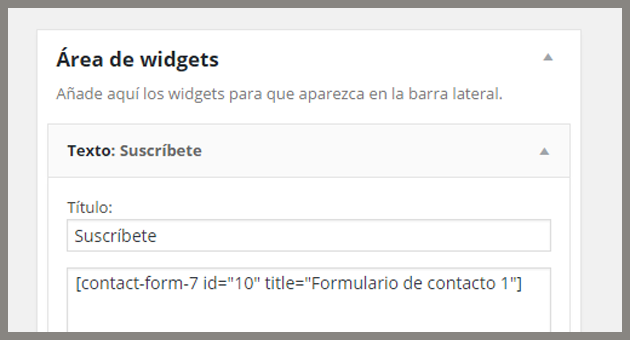
Be sure to paste the shortcode correctly, save it, and in the public area of your WordPress you should see something like this:
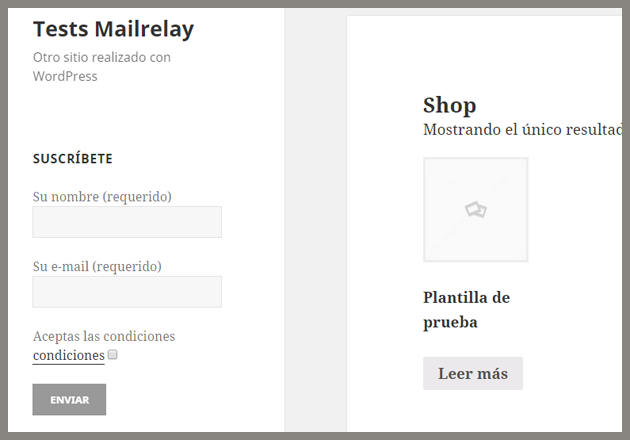
The advantage of contact Form 7 is that it uses the same styles of the template, so you won't have any major formatting problems.
Note the acceptance checkbox was also added, therefore if the user doesn't check this box, the system will not allow the suscription.
As you can see, it was very easy to add the form on a WordPress site. How do you get this form to send the new subscribers to Mailrelay?
Step 4. Synchronizing Contact Form 7 with Mailrelay
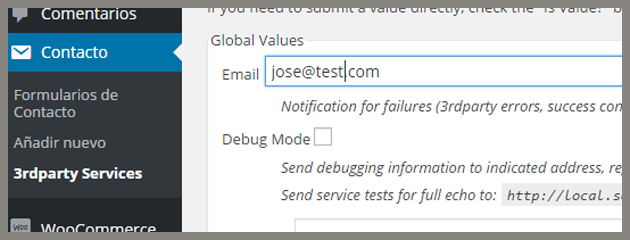
In this step we will use the plugin Forms 3rd party integration, to access it, click on Contact -> 3rparty Services:
To properly configure this section we need the URL of the Mailrelay subscription form.
You can get this url on your Mailrelay panel, clicking on Opt-in -> Get form Code:
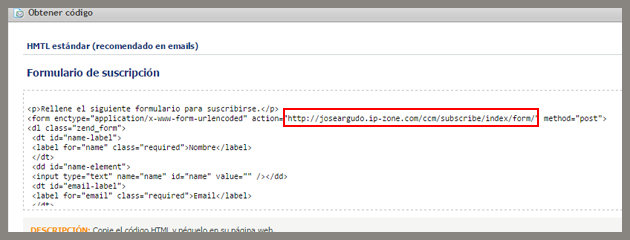
Copy the "action form" URL.
Go back to your WordPress and in the middle of the page you will see a section that indicates 3rd-Party Service: Service 1:

Service Name -> The service name
Submission URL -> Here you should enter the URL of the Mailrelay form, that was copied before
Attach to Forms -> here we will indicate to what forms we will associate this service, in this case we only have one.
The next section is the most important: Mapping
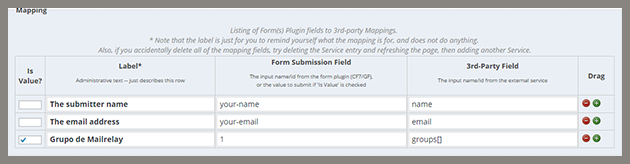
The mapping is where we indicate which fields of the form will be matched with the fields of the service, in this case Mailrelay.
The first column can be easily seen.
The second is a tag to be used internally.
The third one is the Form field of the Contact Form 7 plugin.
And the fourth is the Mailrelay Field.
Therefore, we have this data:
Field # your-name -> is the Mailrelay field name
Field # your-email -> is the field "email" for Mailrelay
And match all the fields as well.
But in the third line, the "is value?" field (the value is 1). This means it is a fix number that will be sent by the system, not a value for the user to enter, the value is the group ID on Mailrelay, where the user will be registered.
The group ID is 1 and the field type is groups []. Now just save the changes.
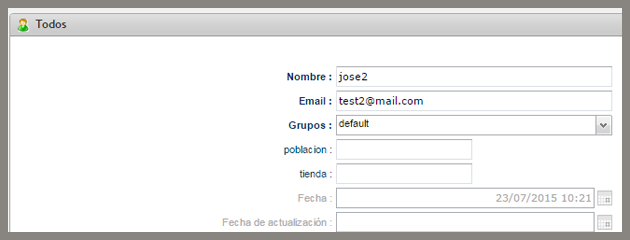
Step 5. Testing the form
When a new user is registered, the subscriber will be created on Mailrelay:
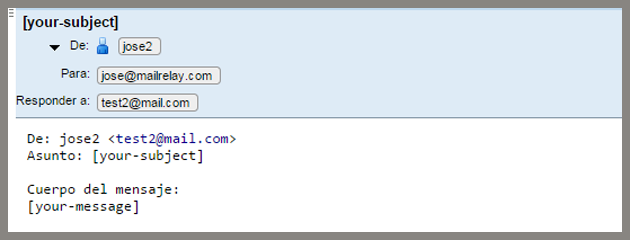
It will also send the information by email:
That's all!
It is very useful, because Contact Form 7 is easy to work with and it allows you to easily:
Add Required fields Add a captcha Etc.
Note: You can change the texts of your form, accessing the Messages menu, if you want to make some small changes to your suscription form.
This is a very useful plugin, and the possibility of sending the collected data to your Mailrelay account using the plugin Forms 3rd party integration, will offer a perfect combination for creating suscription forms in just a few steps.
We hope this tutorial is useful!