Would you like to create your own newsletter template? Do you have little experience (if any) working with HTML and other languages? This article can be a good help in creating a basic newsletter.
I will try to give clear and not too technical instructions, however, don't worry because you can download the file with the html and images at the end of the article, and you can play a little with the code we will be using here!
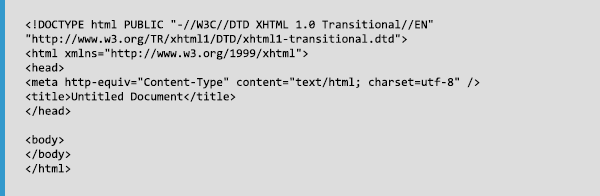
First we have a basic html file with the first lines of the code, if you open it with a software such as Dreamweaver, the code will be displayed by default:
Within the title tag, we will enter a title for the campaign, for example: <title>My newsletter</title>, and before closing the head tag, we will add CSS styles that will give instructions to the campaign and will improve its design, these styles can be modified as needed. The code would look like this:
After that we have the body tag, where we will insert the information to be displayed by the email softwares. As there are many different softwares (and they work differently, affecting the display of the emails), it is best not to use many CSS rules, to increase the chances that the message is displayed correctly, for example in gmail, yahoo, hotmail, etc. We can locate within "body" several rules for this:

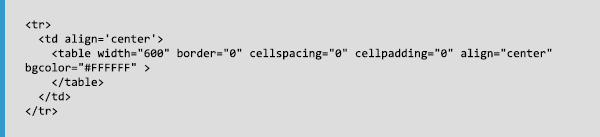
To create a newsletter template, we recommend you use tables, setting the height and width of each table, to ensure that the message is displayed correctly. If we want a certain backgrownd color, It is better to use a table that spans all the area, so in this case, we will use the following properties (you can change the color, changing the bgcolor property using another html code with the desired color):

We will also specify the font type, as I said before, it is best to use styles in each table, even columns sometimes repeating the same style. It is better to be redundant and have everything under control in these cases. Inside the table tag we will insert the tr tags (lines) and td (Columns) to sort the information. The first message is "If you can't see this email properly, please visit the Web version", it is always advisable to offer users this option. The link uses the function web_version

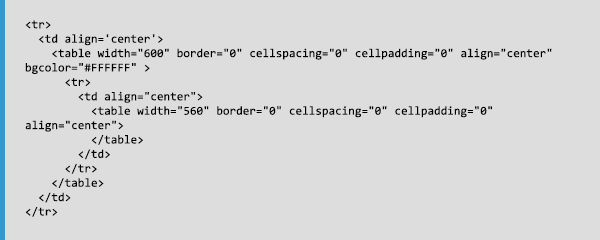
Now we will enter a new tr and td, adding a new table inside it, (adding a table inside another is a good way to use a moderately complex code and prevent some display errors). This table contains key information.
In fact, for a newsletter with adequate margins for information, we can insert another table within this, again with align="center" tag, but with a smaller width, like this:
To have a greater or lesser margin (also among margins of different elements) we will have to generate a column with a defined height, in this way:

Now we will work with the message header, in this space, you can write the company name, or simply insert an image with your logo. If the image contains a link to a web page, it is recommended to insert the tag border="0", to avoid seeing a blue border in the image, which is displayed by default in some email softwares.
It is also important that each image contains an alternative text, some users might have turned off the default display of images, and with this text these subscribers will know what is being sent.

The next step is the title of the newsletter, we will add margins here as well, using the method explained above, a column that will generate a space (in my case, of 15 pixels) for titles, we will use the h2 tag for headers
Inserting below the main image of the newsletter, in this case, with 560 px: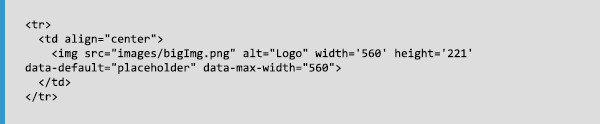
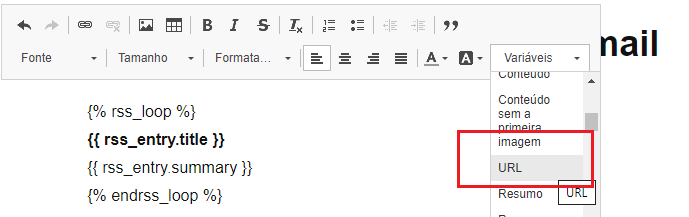
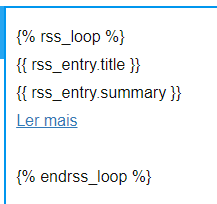
Now we will add the main content!
In this example, we have only one main article, but certainly you can add as many as you need by copying and pasting the code.
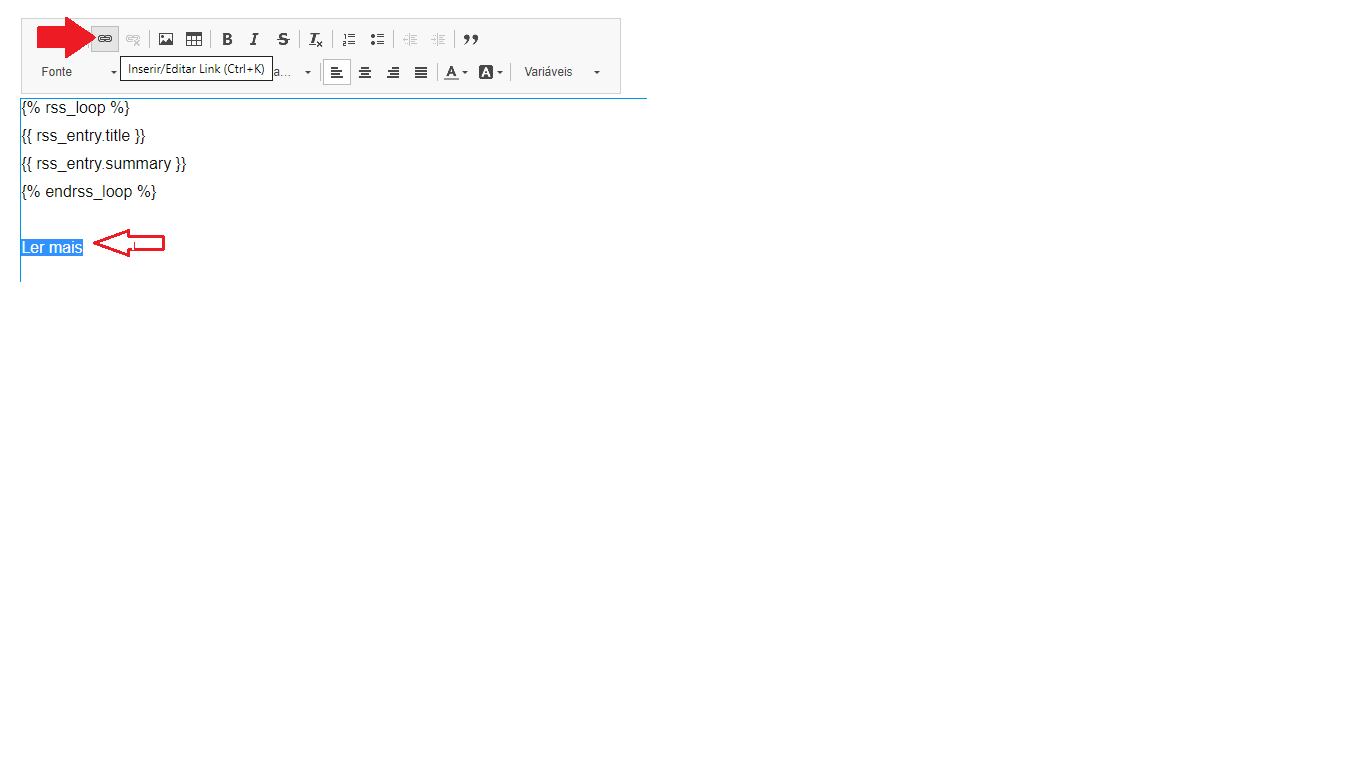
At the end of the content, we will also include a footer, to include the data of the company / website, also an unsubscribe link, (which is always important), all using a single line, to maintain the clean style of our newsletter template: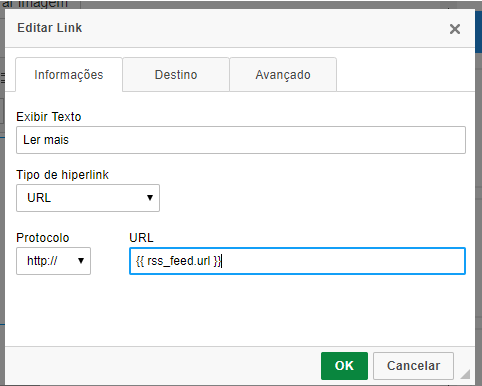
After that we should close the tables (even those that are within other tables), except the main table, which adds the gray background. We will add a last column below with legal notices, using a small font, and close the main table.
And that's all, a newsletter template explained step by step!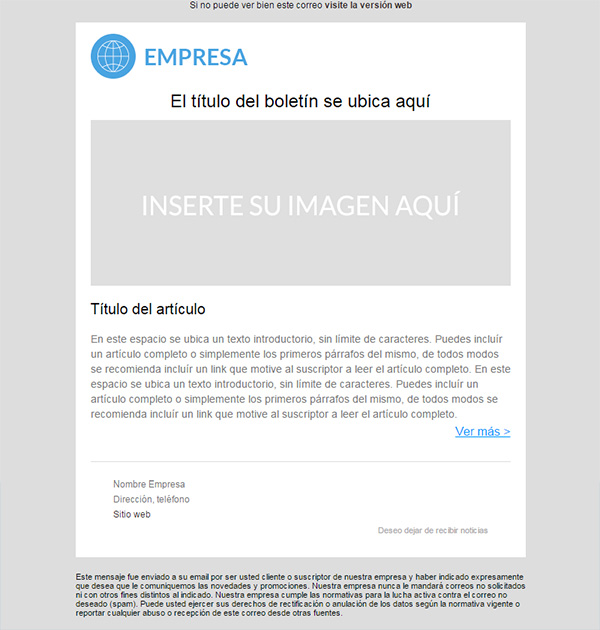
As I mentioned earlier in this article, I tried not to use a very technical explanation, therefore some details have been ignored. However, if you have any doubts about which styles are better, if you want tips about working with newsletter templates, I recommend you read some other posts that are available on our blog.
Talking Seriously about newsletter templates
I hope this article has been helpful for your email campaigns, and as promised, you can download this template,